![]()


(Click on pictures to view at full resolution on Flickr.)
After creating a Furby-sized Jason mask for my Halloween photoshoot, I loved the idea of theming an entire custom around the character. Friday the 13th is one of my favorite horror franchises, and it would be an interesting challenge to try and adapt a humanoid design down into a little furry potato with feet. |

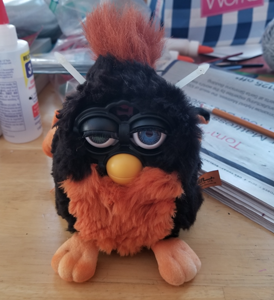
Jason started life as a plain skunk Furby. That was soon to change, however... |
After removing the fur, I wrapped the ears and feet in plastic wrap to see if I could protect them from the dye (I use Rit DyeMore). I wasn't too worried about them, as I planned to remove the ears and cover the feet from the beginning, but it was a nice experiment. |
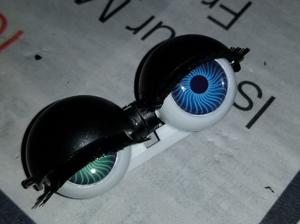
While waiting for his fur to dry, I got to work on Jason's eyes and eyelids. I replaced his eye chips, and sawed his eyelids in half to be able to pose them separately. |
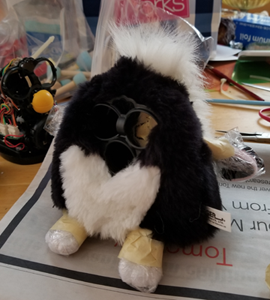
Whole once more, with brand new orange fur and multi-colored eyes. As you can see, the plastic wrap protected the feet a bit, but not nearly as much as I was hoping. |
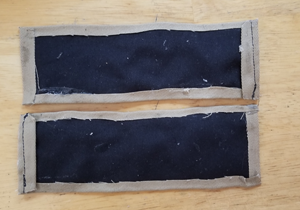
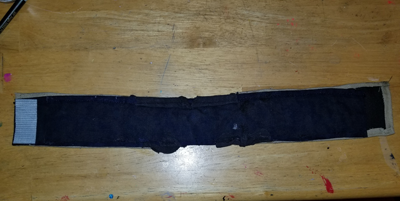
For his clothes, I started on his jacket by gluing tan fabric around black liners. I use Beacon Fabri-Tac glue- it's by far the best fabric glue I've ever tried, although it does have a very strong odor. |
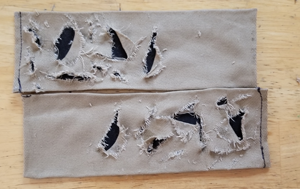
Using a craft knife, I carefully made rips and tears in the tan layer of fabric. |
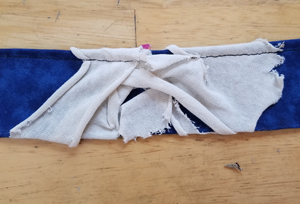
For his shirt, I tore pieces off an old t-shirt I had lying around, then glued them in place on a piece of scrap fabric. A row of stitching was added along the top to simulate a collar. |
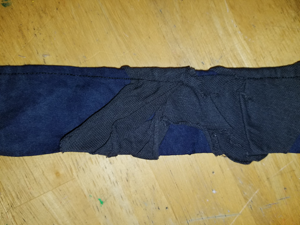
After letting the glue set for 24 hours, I dyed the whole mess black. |
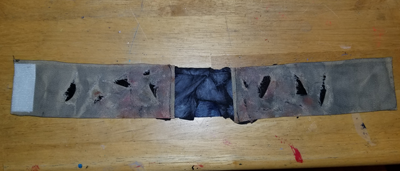
I then glued the two halves of his jacket in place, used watered-down acrylic paint to make everything appropriately dirty, and attached some stick-on Velcro. |
 |
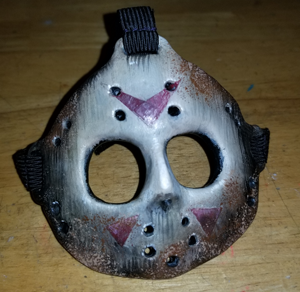
Unfortunately, I forgot to take any in-progress pictures of his mask. It's pretty self-explanatory, though- I modeled it in Kato Polyclay, painted it with acrylics, sealed it with matte Mod Podge, and added elastic with attached Velcro. Sculpey III is usually my polymer clay of choice, but I prefer Kato for thin, flat pieces like this. I find that it's much more flexible when cured, meaning that it resists being bent and potentially broken. However, it's extremely firm, meaning that it's a real pain to knead and sand. It's also very smooth after baking, and requires sanding in order to give any paint enough of a texture to stick to. |
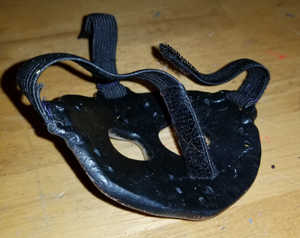
Back view of the mask. In order to get it to curve, I baked it flat, then waited until it was just cool enough to handle without burning my fingers before bending it over a ball of tin foil. It's crude, but it works. |
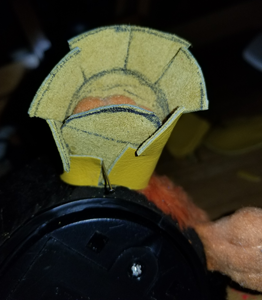
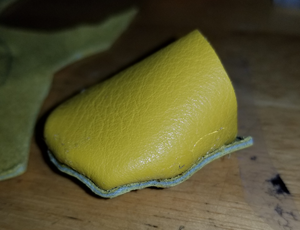
For his gloves, I started by cutting a piece of leather to the shape of his foot and pinning it wrong side out to the bottom of his foot (sorry, bud!). I then cut a much larger top piece and glued it to the bottom in sections. It took some trial and error to get the size of the top piece just right. |

One completed glove. |
To cover the mess, I glued a second piece of leather to the bottom of each glove. |
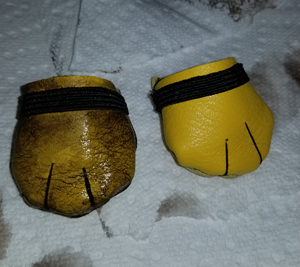
To complete the look, I added little pieces of elastic, stitching to create toes, and a little bit of watered-down acrylic paint. |
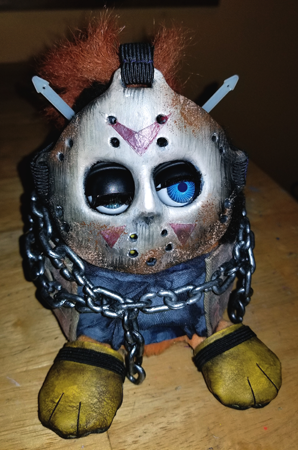
And just like that, he was done! This custom took about 8 days of work, spread out over a month due to the holidays. I'm super happy with how he came out! I included elements of Jason's design from all of my favorite movies in his Furby counterpart- his red hair from Part 2, his eyes and mask from Part 3, his gloves from Jason Lives, his chain from Jason X, and his clothes from Freddy vs. Jason. |
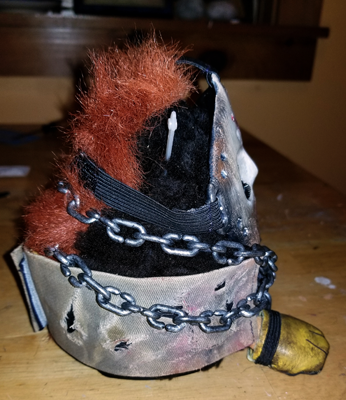
Side view. (I realize now that I also forgot to take progress pictures of his chain- it's just a miniature chain designed for bird toys, spray-painted black with some silver acrylic sponged on top.) I'm planning on making him a Part 2 outfit, too, but that's a project for another day! |
All text and images © My Furby World, 2019.