![]()


(Click on pictures to view at full resolution on Flickr.)
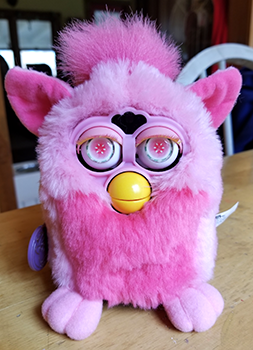
Giving Furbys new eyes and eyelashes is a great way to update their look, whether they're part of a more complex customization or just something small that makes your Furby stand out from the rest! |
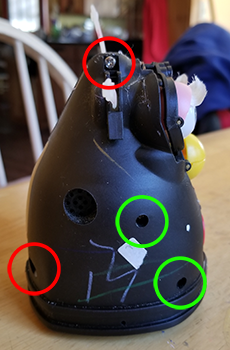
Start by removing your Furby's fur- you can find my tutorial for that here! Then, remove the six screws holding together the outer plastic shell. Those circled in red only appear on one side, while those circled in green appear on both sides. An ice cube tray is great for storing and organizing screws while you work! |
The shell should simply fall away from the body. The ear bones pass through holes in each half of the shell. |
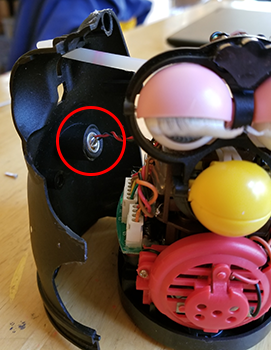
One half of the shell will also have a space for this little module. I'm not entirely sure what it actually is, although I suspect it's the microphone Furbys use to detect loud sounds. Sometimes the module will come out easily, and other times it will need to be tugged gently, being mindful not to damage the wires. |

The back switch will also fall out while you're disassembling the shell, as it just rests in the space between the shell and main body and isn't actually secured to anything. Don't panic, you didn't break it! |
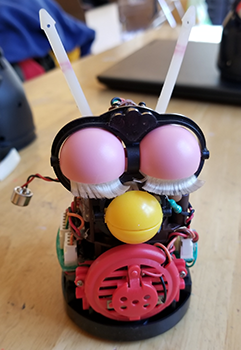
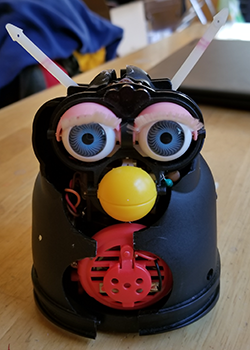
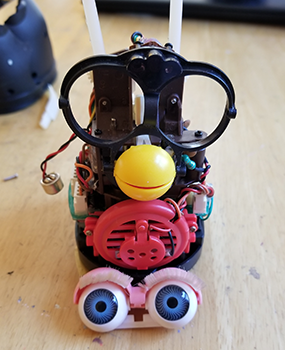
Your Furby is now completely nude! Removing the shell also makes diagnosing mechanical troubles and customizing the beak and tongue much easier. |
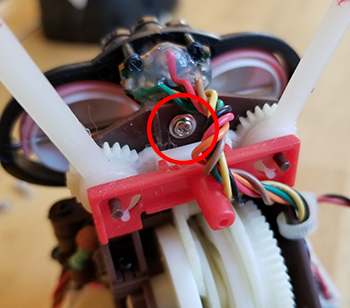
Now, remove this screw at the top of the back of your Furby's head. |
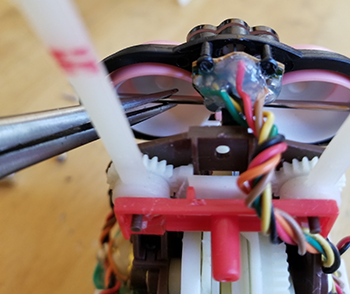
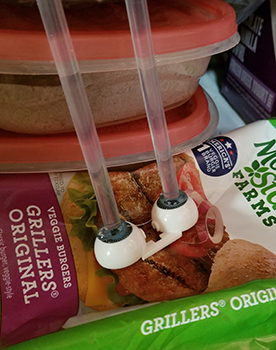
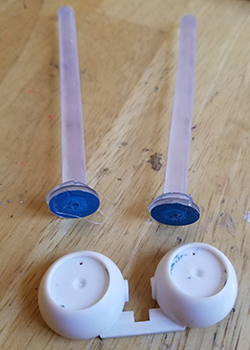
Gently pull the frame holding the eyes and eyelids in place forward, until there's just enough room to get a grip on that little metal rod with a pair of needle-nose pliers. Sometimes the rod is loose and can simply be slid out one side, and other times it's threaded at one end and glued in place. It can take a good bit of force to get out if that's the case- while I've never cracked any plastic pieces or stabbed myself in the hand while doing this, always be mindful of the placement and pressure of your grip. |
With the rod removed, work the eyes and eyelashes out of the frame. I find it's easiest to get them both at the same time, instead of trying to remove one after the other. It can be a pretty tight fit, so again be careful not to damage any plastic pieces or the IR sensor between the eyes. |
Now, it's time to remove the old eye chips! Place a glob of hot glue in the center of each eye and attach a full stick of glue. Don't worry, you can reuse the glue sticks once you're done. |
Place the eyes in the freezer and let cool for at least 15 minutes. Note that it's possible to remove the eye chips using this method without even removing your Furby's fur, although I'm not sure if the electronics will hold up in such low temperatures. |
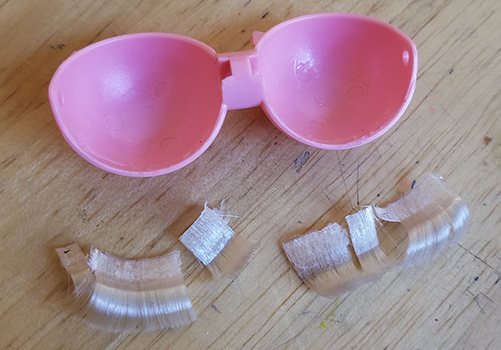
While waiting on the eyes, let's work on the eyelashes! Peel off the old eyelashes and discard them. The glue is so old and dry by now that they should come off quite easily, although you can always use a craft knife to remove any particularly stubborn pieces. |
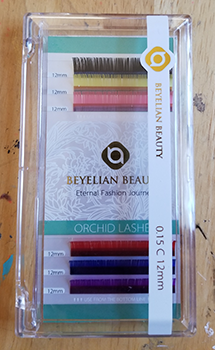
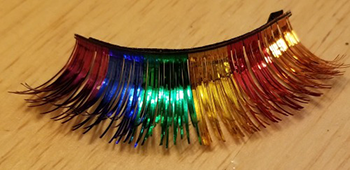
Now, get your replacement eyelashes ready. I'm using these colored eyelash extensions, although eyelashes designed for use with dolls and even regular false eyelashes can be used. |
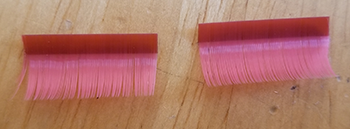
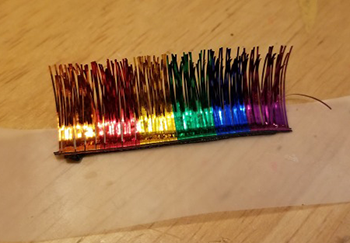
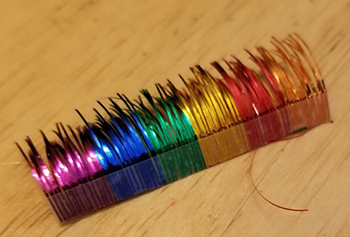
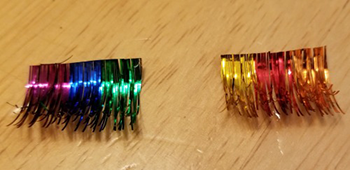
If using eyelash extensions or doll eyelashes, they just need to be cut to size. |
It takes just a couple of extra steps to convert regular false eyelashes for use with Furbys! I'm using pictures from an older tutorial I made on the subject a while back. |
Flatten the edge of each set of eyelashes and stick them to a piece of Scotch tape. Make sure at least half a centimeter is covered by the tape. |
Then, cut off the raised edge. |
Cut the eyelashes in half, and use a pair of tweezers to remove any loose ends. |
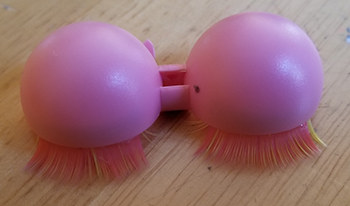
No matter what kind of eyelashes you're using, the process of attaching them to the eyelids is the same. Unfortunately, I couldn't get a good picture of the underside of these eyelids, but it's pretty straightforward. Spread a thin layer of strong glue along the outer inside edge of the eyelids (I use Beacon 3-in-1 Advanced Craft Glue), then press the eyelashes in place. Wipe away any excess glue immediately- any raised areas can prevent your Furby's eyes from closing properly. For Pink Melonade, I also added a layer of yellow eyelashes underneath the pink! |
By now, the eyes have had plenty of time to sit in the freezer. Using the glue sticks as a handle, pull away the old eye chips with a twisting motion. If the glue comes away instead, allow the eyes to warm to room temperature before trying again. |
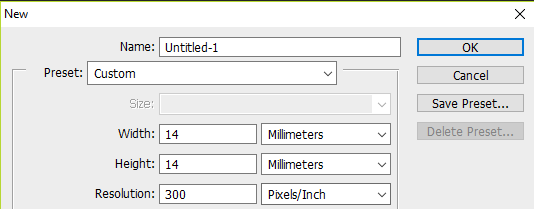
Now, it's time to create our new eye chips! There are several ways of going about this- you can draw them out on a piece of paper, design them on the computer, or download a premade design. In all cases, however, they need to be sized properly. Adult Furby eye chips are about 15mm in diameter, while Furby Baby and Buddy eye chips are around 12mm. Create an appropriately-sized canvas in Photoshop or another image manipulation program, at a resolution of 300 dpi. I normally make my canvases 1mm smaller than actual size, as the thickness of the paper actually makes full-size eye chips just a bit too big. |
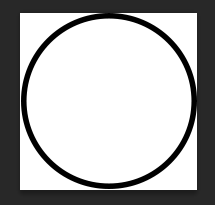
If creating custom eye chips, use the circle tool to create a guide and let your imagination run wild! |
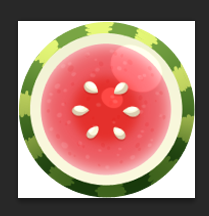
For Pink Melonade, I opted to use a premade design from bootnotfurby on Tumblr. They have tons of great free eye chip designs, and this watermelon design was exactly what I was looking for! Import the design and make sure it's sized properly. |
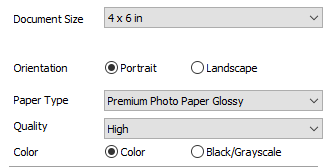
Time to print! Use glossy photo paper for a shiny look, and make sure your printer is set accordingly. |
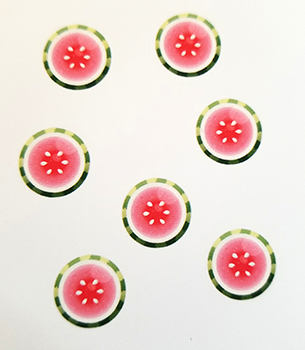
All printed out! I normally print several copies on a single sheet of paper, so that I don't have to go back and print a new copy every time I mess up cutting them out. Once you're happy with your new eye chips, glue them in place using the same strong glue that you used to attach the eyelashes. |
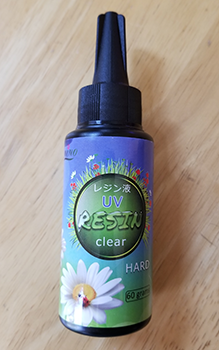
Finally, we have to add a clear covering to the new design. There are several ways you can go about this- by far the easiest is to buy premade clear eye chips. There are plenty of options in either resin or glass on sites like eBay and Etsy. Unfortunately, the only ones I've been able to find are designed for Blythe and other ball-jointed dolls, and are a tiny bit small and flat when compared to original Furby eye chips. This means that they won't be totally flush with the whites of your Furby's eyes. |
If using UV resin, place a dollop of resin over top of each eye. If you'd like, you can even embed pieces of glitter or resin pigments to create really neat effects! Carefully remove bubbles with a lighter before curing. If you get drips or an uneven surface, it can be sanded down (I start with 300 grit sandpaper and work my way up to 1000 grit for a super-smooth finish) before brushing on one more thin layer of resin to restore its clarity. |
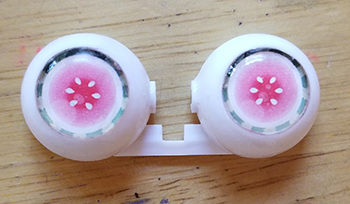
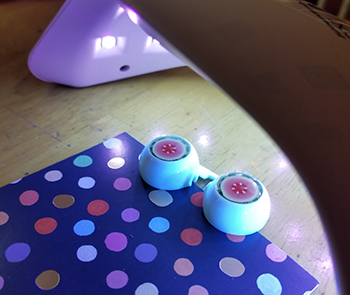
And, the new eyes are complete! (It wasn't until now that I realized I got the design upside down. I suppose that's what I get for focusing more on taking pictures than on my work.) |
To reassemble your Furby, slot the eyes and eyelids back into the frame, and thread the rod back into place. Replace the screw at the top of the head before replacing the shell and securing it with screws. Put your Furby's fur back on and admire their fashionable new face! |
All text and images © My Furby World, 2019.